(This post is part of my Refresh Your Craft & Soul Blog Event – see the beginning HERE!)
Yesterday I shared a layout (on the Challenge to Use Teal, Orange and White) which used a photo with overlays from the Rhonna Designs App. It’s a really fun app to use if you have a smart phone! But if you don’t have a smart phone you can still add overlays to your photos, my favourite other way to do this is in Picmonkey.
I’ve talked about Picmonkey on here before, I’m not affiliated with them in any way, I just love to use it! I do subscribe to the paid service, which gives me more options for things I can do, but for this tutorial I used only free elements of the site.
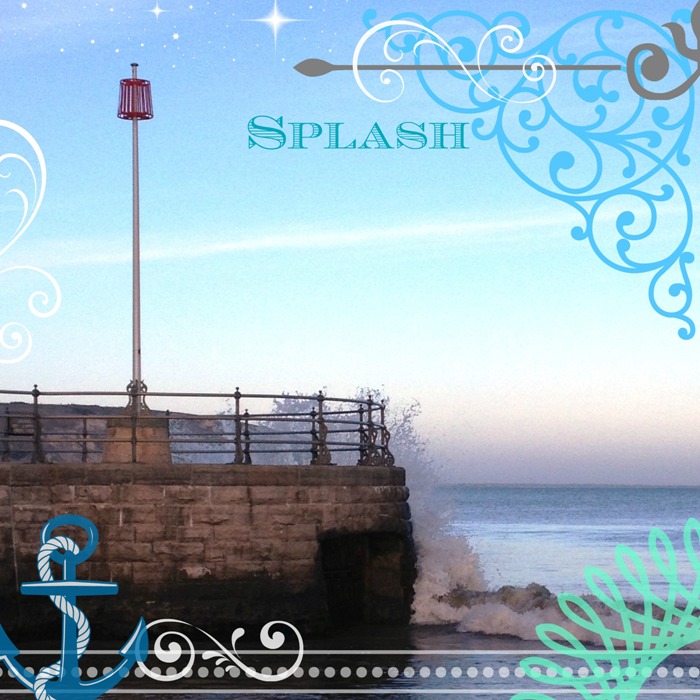
Here’s a photo I’ve refreshed in Picmonkey:
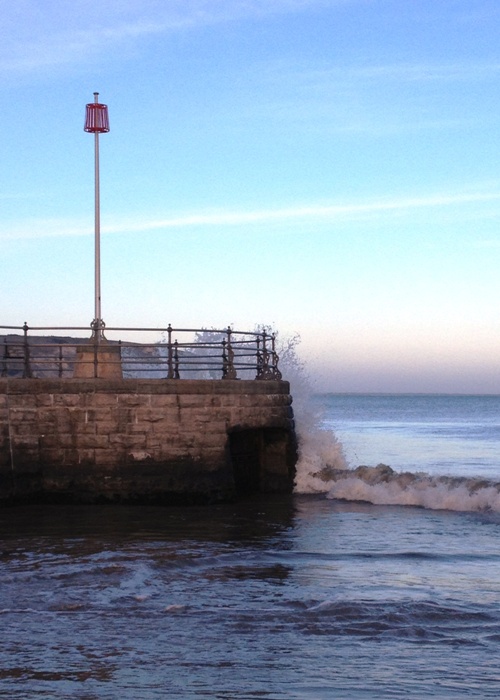
Here’s how the photo started:
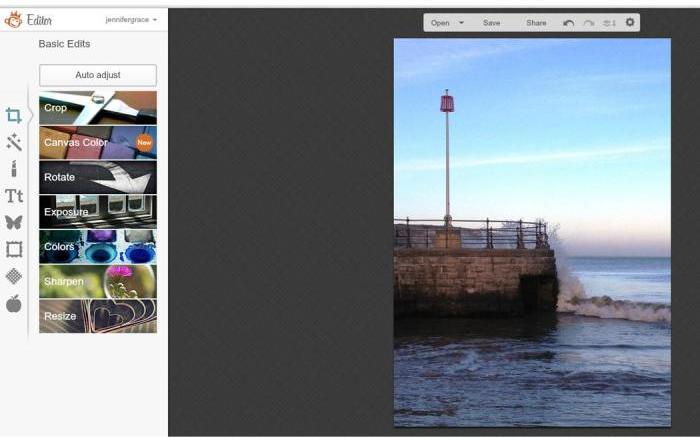
When you go to the Picmonkey site this is the landing screen. You have the option to ‘Edit’, ‘Touch Up’, ‘Design’ or ‘Collage’ – for today we want ‘Edit’. Click there and it will ask you to upload your photo.
Once your photo is uploaded the screen will be something like this:
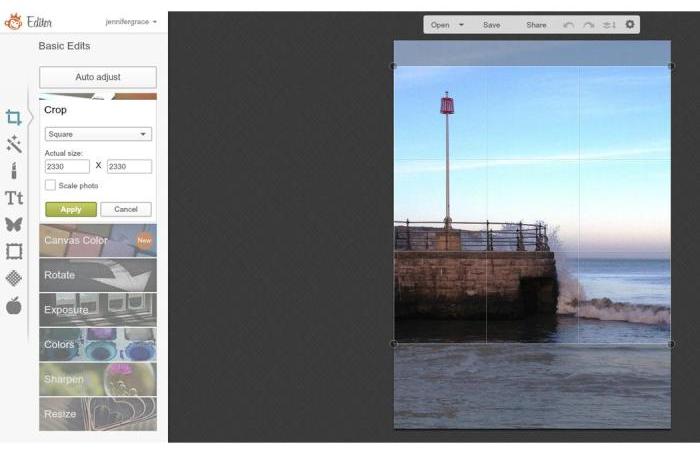
I wanted to crop my photo first, so I clicked on ‘Crop’ in the left sidebar, and chose ‘Square’ from the drop down box. I could then drag and adjust the box on my photo so it cropped how I wanted, when ready you can click ‘Apply’:
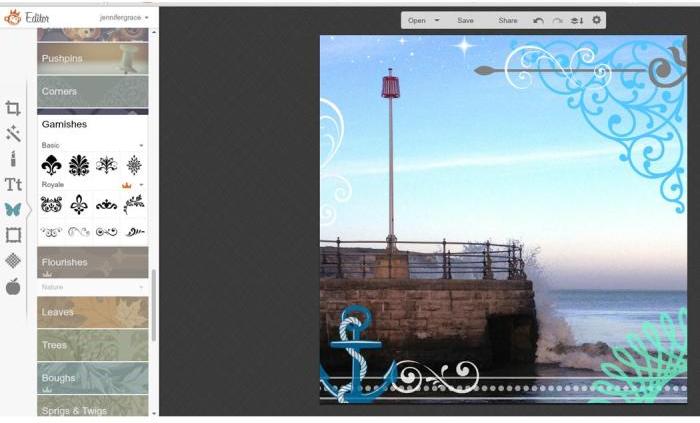
Now click on the Butterfly icon in the left hand menu to take you to the overlays. There’s quite a selection!
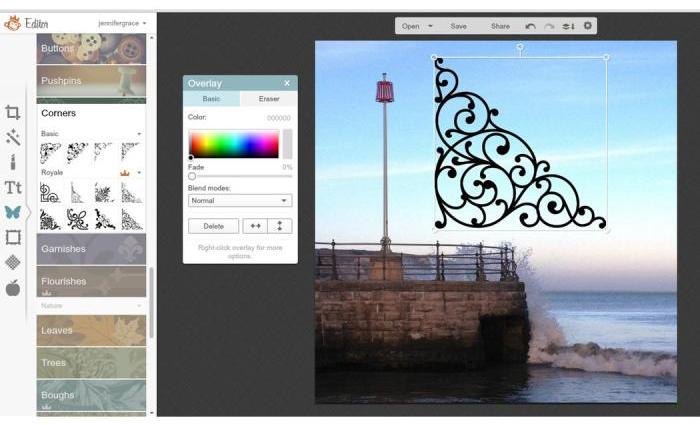
I started with ‘Corners’ and chose this corner:
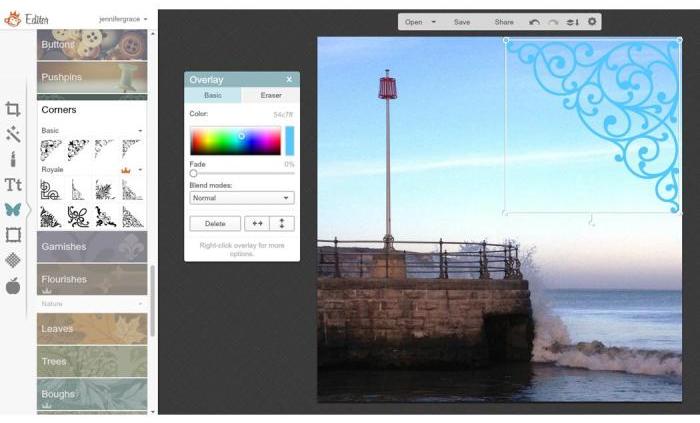
See the ‘Overlay’ small panel that has appeared? It means you can recolour, flip, fade, or delete your overlay! You can also adjust the size, and rotate it, using the handles on the image itself:
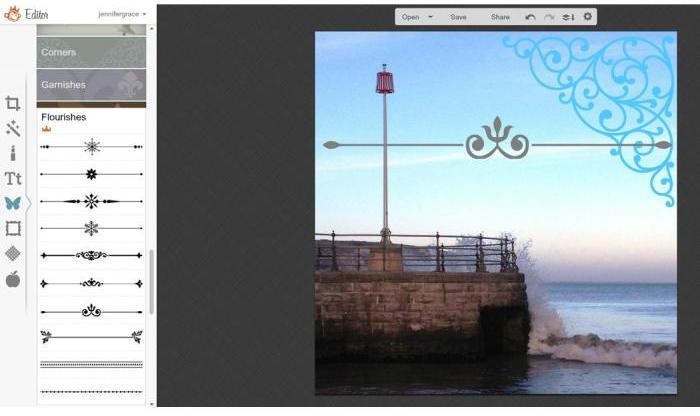
Now I added a flourish and changed it to grey:
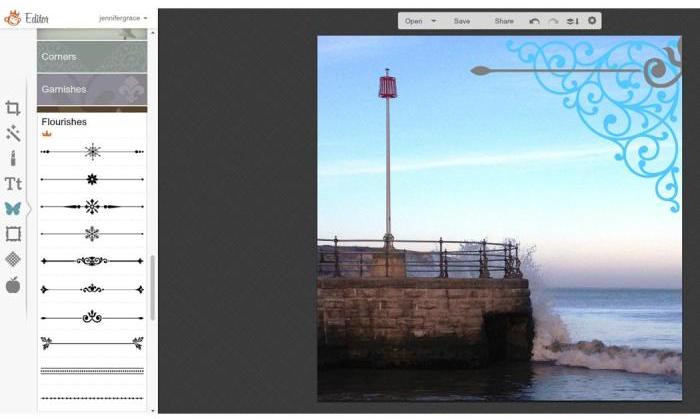
You can place the overlays so some of it hangs off the edge of the photo. I dragged this flourish so you could only see half of it:
Keep adding overlays until you are happy! I added some from ‘Sparkle Stars’, ‘Nautical’, ‘Spirographs’, and ‘Garnishes’, recolouring, adjusting, and fading them until I was happy with it:
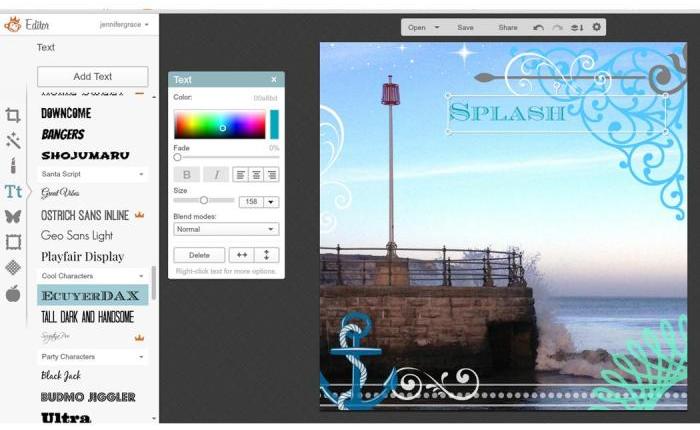
Then you can add text by clicking on the ‘Tt’ symbol from the left-hand menu. Choose the text you like then click ‘Add Text’, a box will appear for you to type in. I chose the font ‘Ecruyerdax’, and adjusted the colour and size of the text just like I did with the overlays:
Then you just click ‘Save’ to download it to your computer:
Cool huh?
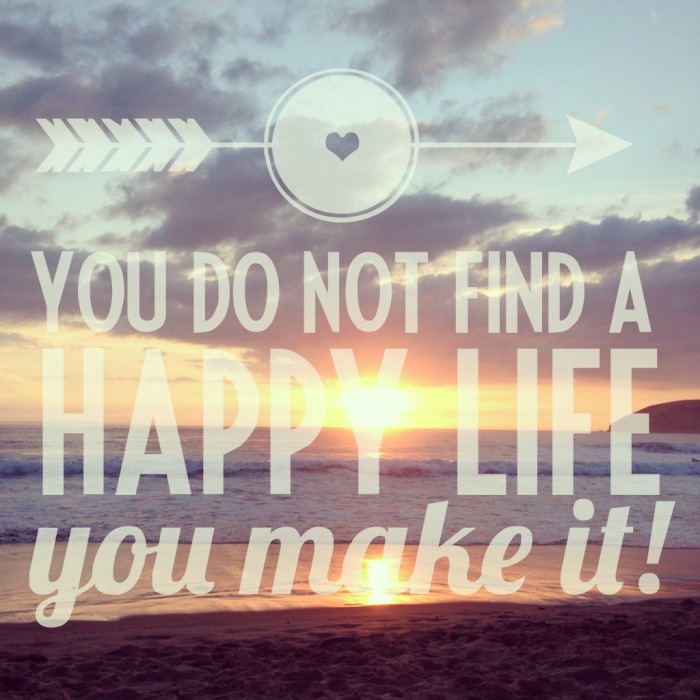
Here’s another one I did in the Rhonna Designs App on my phone:
I love taking landscape shots but don’t always scrapbook them or use them any other way. Adding overlays is a fab way to turn them into something special – to scrapbook a quote or emotion, or to frame, or you could even just use them as a desktop background.
Be Inspired:
Add an overlay to a photo, either in a program like Picmonkey or by adding transparencies on top
Add a flourish or twirly corner to a project
Go out and take a landscape photo to inspire you
Do you have any landscape photos that need a little extra something to make them special?
Remember that commenting on this post, and any other over this weekend, will count as another entry into the Grand Giveaway, but only if you’ve registered your interest in winning that prize right HERE! {NOW CLOSED}
Back soon!
Jennifer x


Nice work. Thanks for the tutorial.
LikeLike
I like the idea of writing quotes etc across the photo, shall most certainly be pinning this to refer to in the future 🙂
LikeLike
I’ve never used picmonkey, picasa and rotr are good but I might just try your suggestion 🙂
LikeLike
I’ve tried picmonkey a few times but can’t seem to get on with it….i’ll have to give your turorial a try and alter a photo x
LikeLike
Thanks for a great tutorial. I’ve never used Picmonkey but may have a go now 🙂
LikeLike
Beautiful what you did with that! I still pretty much stick to straight 4×6 prints that I crop once I get them but this is something I’ll keep in mind.
LikeLike
That’s fabulous! I’m off to try it out.
LikeLike
I use picmonkey quite a lot for resizing and collages etc and love it but always forget about adding images and text to photos! I’ll give it a try!
LikeLike
so cool – thanks for sharing, I’d not heard of this website before
LikeLike
ooh that is brilliant I am definitely going to investigate picmonkey and the phone app
LikeLike
I often use Picmomkey, but have never added overlays….will give it a try.
LikeLike
OOOOOOOOOOOOOOOOOOOO! Picmonkey here I come!! This is so cool and I can’t wait to try it! Hubby may have to cook supper because I think I am going to get addicted! TFS!
LikeLike
Thanks for the ideas. I’ll have to check out both!
LikeLike
I love Pic monkey too … so many different things to play with
LikeLike
Have bookmarked this post. I am technophobic with new programs to use so this should be extremely helpful – THANK YOU!
LikeLike
You are absolutely right – I don’t really scrap landscape images because they seem…weeeeeell, missing something – but I love what you did by adding words..that makes a huge difference! I think I ‘ve got a new ‘thing’ to do now!!! Thanks heaps for this!
LikeLike
Wow, that certainly makes quite a difference in the photo!
LikeLike
I’ve used the Rhonda design app on my mom’s phone (since I don’t have enough room on my phone to download it). I love it. The quotes are cute and make great filler cards for project life on top of a scenery picture. :3
LikeLike
That looks great! Thanks for the tutorial 🙂
LikeLike
That is awesome! I will be taking some of my Monaco pics and doing this!
LikeLike
What a good idea – I use Picmonkey and I think it’s brilliant, but there is obviously so much more I could do with it …
LikeLike
I used to love PicMonkey but am now a Fotor fan!
LikeLike
I love landscape photos but I, like you, don’t tend to use them very often. I’ve found that lately I’ve been messing around with putting quotes over them. I love what you did in the examples. They look very professional.
LikeLike