My daughter wanted our house to be creepier for Halloween. We don’t celebrate it in a big way, but we will dress up on the day, and we might get a few trick-or-treaters stop by, so I figured we could at least decorate our entrance hallway. Then anyone who stops by will get a spooky surprise, and the kids can have fun each time they run through!
Halloween Hallway:
Little Miss said her favourite “Halloweeny thing” is bats, so my main aim was to create a colony of hanging bats all over the ceiling!
To create this I fired up my Cricut Explore and the Design Space, and chose a bat image (#M2E38A):
I dragged the corners to resize it at 9.5″wide, 4.27″ high:
Then searched for the Score Line image:
I duplicated the score line so I had 3 of them, and then positioned one in the centre of the bat, and one on each wing (turning on the guide lines in the design space can help you place the score lines in the correct place):
Once you are happy with the placement of the score lines, you need to drag a box over the bat and all three score lines, and click ‘attach’. This joins them all together so the machine knows to use it as one shape rather than separate layers.
Then click ‘go’ to send the shape to the mat preview. Here you can change it to make 2 projects (you need to click ‘apply’ after altering the number of projects). Rotate the bottom bat so that it’s upside down and manoeuvre it so it’s close to the top bat, this means there’s enough left from a 12×12 sheet of card for you to cut another bat, or use for a different project later:
I cut my bats from a variety of black cardstock and black patterned papers. Once the Explore has finished cutting them you just need to gently fold along the score lines, like this:
Keep going until you have lots:
To attach to the ceiling you can pierce two holes near the top of the bat’s head:
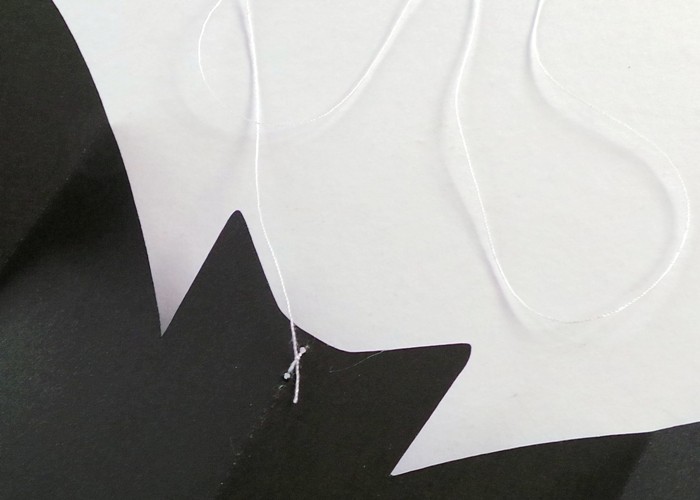
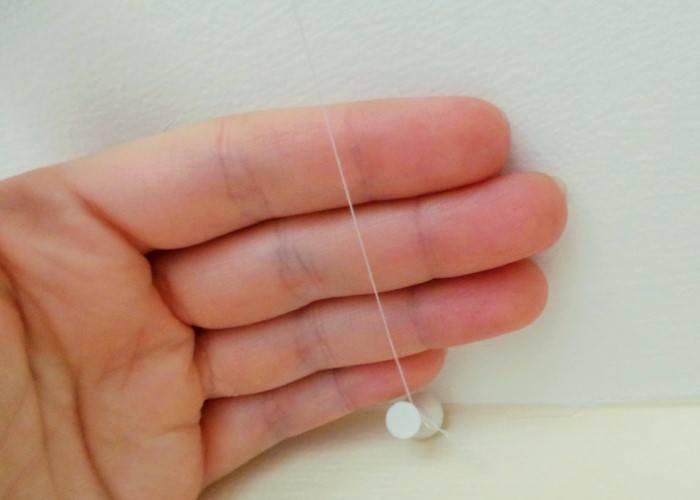
Tie through some cotton thread to match the colour of your ceiling. Knot it at the back and leave a long string:
To tie mine to the ceiling I first pushed a couple of pins into the edge where the top of the wall meets the ceiling, and then tied some more of the cotton thread to the pins:
I had two running in straight lines along the ceiling, and then I tied a few more lines of string across the room so there could be bats in the middle of the ceiling too:
You can’t see the strings at all from below, it looks just like they are fluttering above us!
Seeing as the Cricut Explore was already set up I used it for some more room accents too!
I went to the landing page to try out some pre-designed projects, and chose the Halloween Luminaries. I clicked ‘customise’ rather than ‘make it now’, so that I could delete a couple of the lanterns – I just wanted the haunted house one. I didn’t make any changes to the size though. I also chose a Spooky Spiderwebs project to decorate my glass bowl, again I clicked ‘customise’, but this time I deleted all-but-one of the spider webs and re-sized it, to fit at the top of my bowl. I cut it out from black vinyl and used transfer tape to help me place it on my bowl, and repeated with two more:
You can also see a spider, placed strategically on some toy stuffing that I used as cobwebs! The spider is #MA0465, and I cut three of them at 3″ tall and three of them at 2″ tall, from the off cuts of black cardstock I had left from the bats. They look good tucked in a few places around the room, and are surprisingly realistic considering they are made from card, I scared myself with one late last night, seen out of the corner of my eye!
The finishing touch was the ‘Happy Halloween’ sign and skeleton stuck on the door at the back of the room:
The words (#M39CD8) are cut at 11.39″ wide from orange cardstock, and the skeleton (#M44F29) is cut at 11.59″ tall from more black cardstock – I’m going to need to replenish my black cardstock after this!
A cackling witch and a roaring monster have already tried the room out:
They declared it very spooky!
I’m linking up to a few linky parties – Inspiration Monday, Spooktacular Halloween, and Show & Tell Wednesday.
Do you decorate your house for Halloween? Would the bats and spiders freak you out?!
Bye for now,
Jennifer x
DISCLOSURE: Cricut have provided me with a Cricut Explore Machine, some materials including vinyl, and access to the Image Library, to help me write this post. However ALL opinions in this post are my own and not governed or controlled by Cricut in any way. I’m also entering this into a Cricut bloggers Halloween contest.


Loving the bats, Jennifer. How are you getting on with the Cricut Explore? I’ve been trying to convince Beloved how much I really need one, but pennies sadly won’t currently stretch that far. Maybe next year!
P.S. Thanks for the lovely comment on my Witch’s Cauldron post!
Sue x
LikeLike
An interesting gadget and perfect for crafters.I like the bats.
LikeLike
That’s fantastic – so effective! #UKbloggers
LikeLike
Brilliant Jennifer….I bet the children will love it. I missed Halloween last year as i was in hospital and it looks like i might not be on my feet for this one either 😦 It’s a big thing in the village though and in previous years we’ve dressed the outside up x have fun x
LikeLike
Brilliant!! Hope they have lots of fun though it looks like your children have already started!
LikeLike
Hello!
LikeLike
Hello!
LikeLike