(This post is part of my Frosty Festivities 2015 Blog Event – see a list of all the posts HERE)
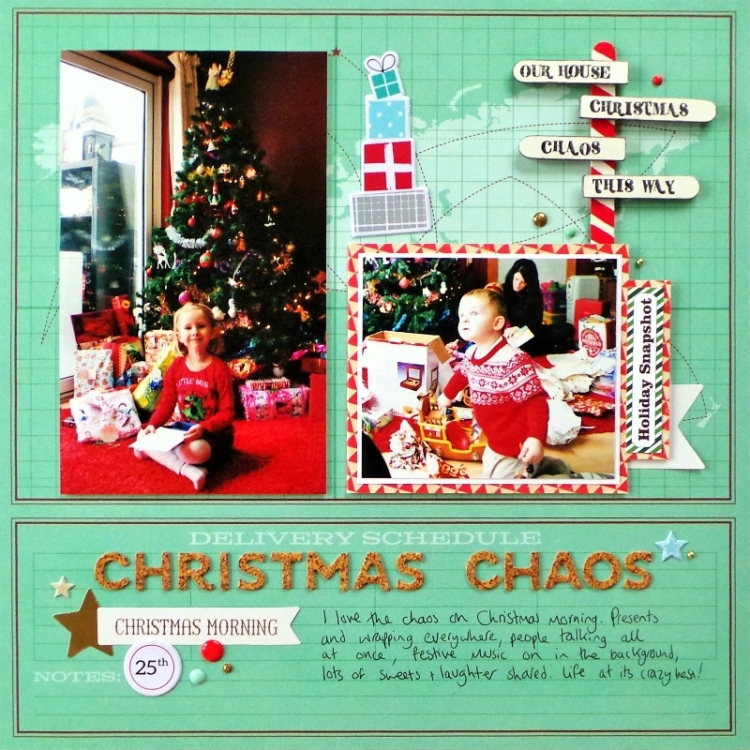
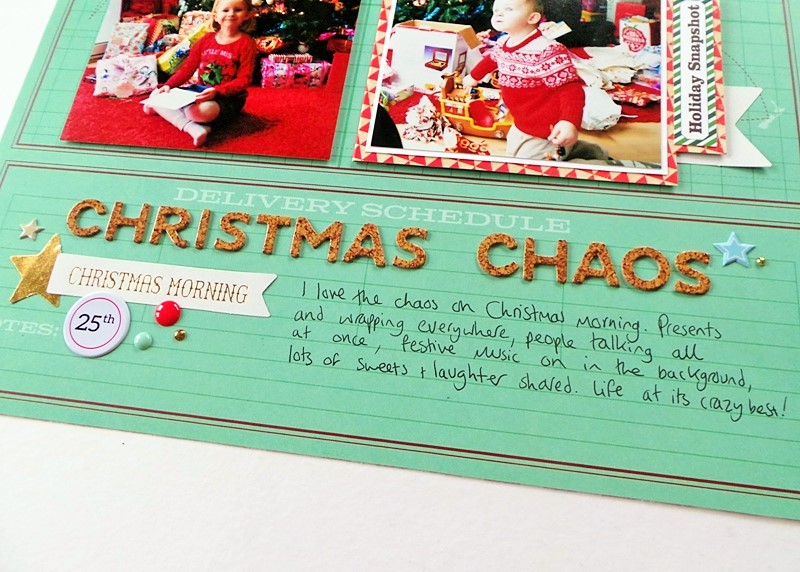
Good day to you! Today I’m sharing this ‘Christmas Chaos’ layout with a DIY North Pole signpost embellishment:
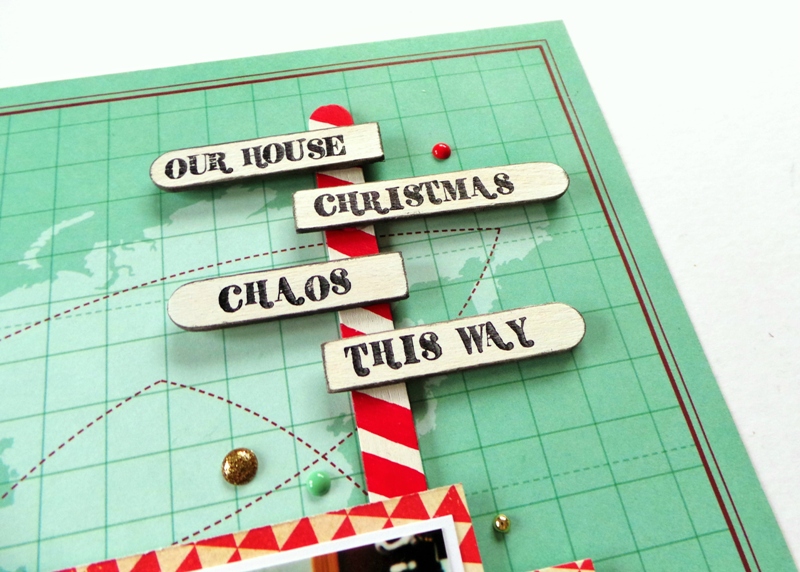
I got the idea to do the signpost because of the background paper I’d chosen (Shimelle Christmas Magic ‘Deliver’ paper) being a map. And I really wanted it to say ‘Noth Pole’ on one of the signs, but then I realised that it would drive me crazy, because according to the map paper the ‘North Pole’ sign would have to point straight upwards! So I decided to go with the words ‘Our House’, ‘Christmas’, ‘Chaos’, and ‘This Way’:
I’m going to try and make another one of these as a decoration, with ‘North Pole’ being one of the signs this time!
Here’s how I made the signpost…
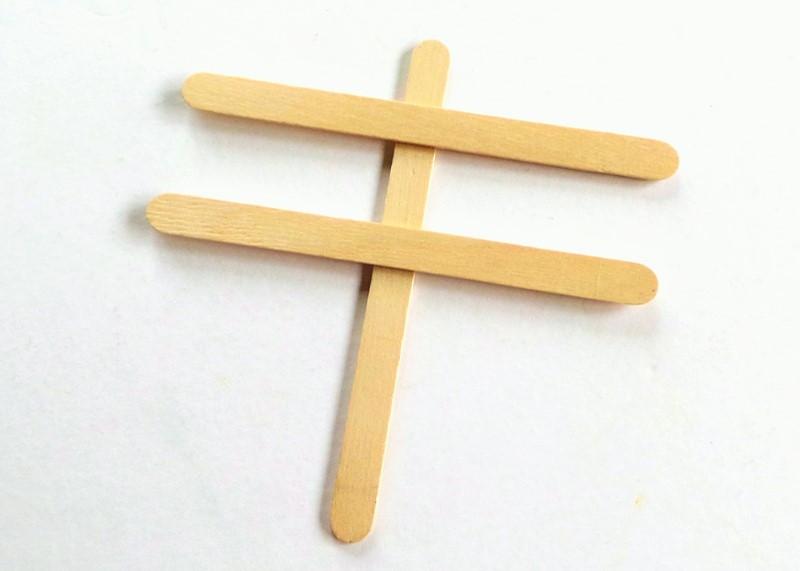
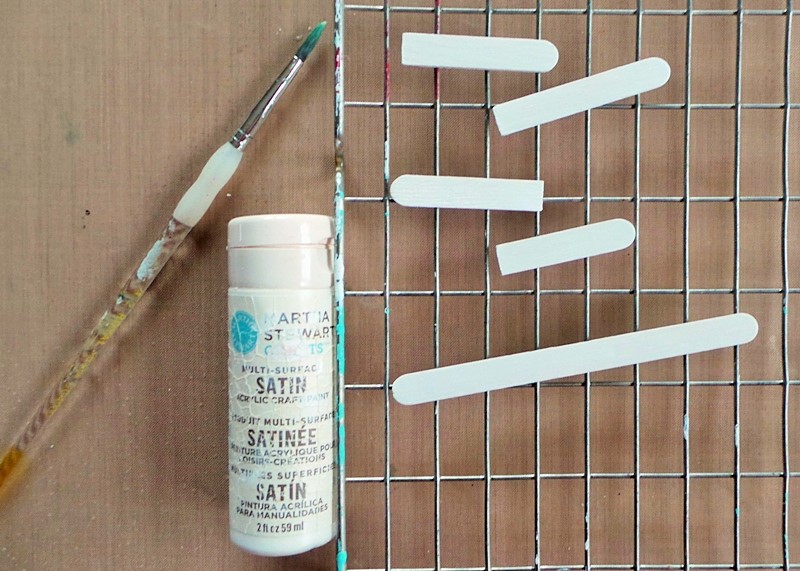
Step 1: Find three craft sticks (I call them lolly sticks!) which are as flat as possible:
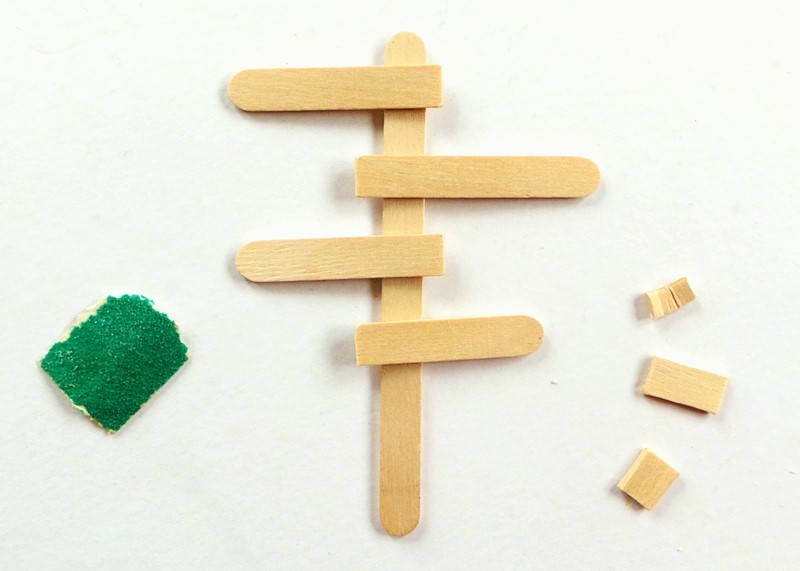
Step 2: Cut two of the craft sticks to be the sign parts, and sand off any rough edges where you cut them. I just used scissors to cut mine but if your craft sticks are thicker you might need something tougher. Also make sure you think about what words you want to add to the signs, and therefore how long each piece needs to be – I made sure the one which would say ‘Christmas’ was longer:
Step 3: Paint the sticks white. I used Martha Stewart Satin Craft Paint, which is similar to acrylic paint, and I only painted the front and sides, not the back as it would be stuck on a layout. I’d have to paint the back for a decoration. It only took one coat of paint:
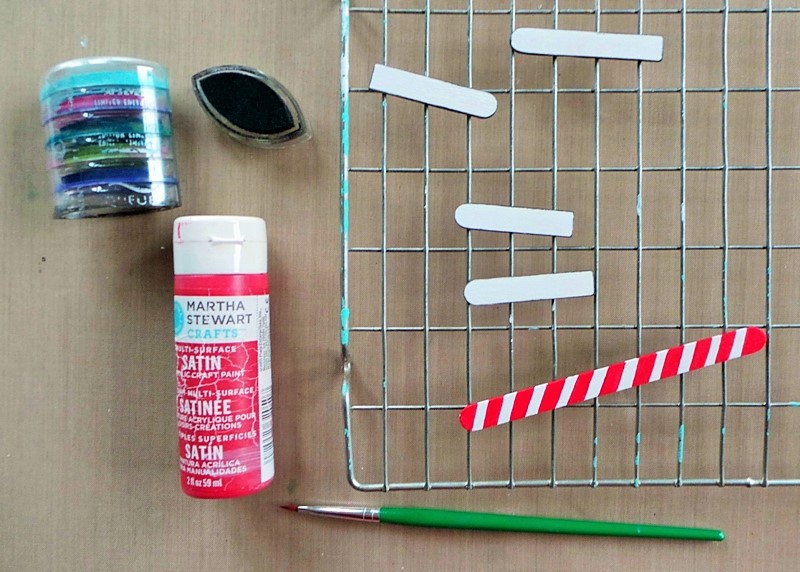
Step 4: Paint some red diagonal stripes onto the tall ‘post’ stick, to give it a candy-cane effect. Ink the edges of the sign pieces with black ink (I used chalk ink) to give them some definition:
Step 5: Stamp or write your words onto the signs. I used an old mini-alpha stamp set and Stayz-On ink. Then glue the signs to the front of the post using hot glue or another strong adhesive:
Then you can add it to a layout, card, or other festive project! I used Glossy Accents to stick mine to my background paper.
The bottom of my post looks like it disappears, but that’s because it’s under a flap where I placed another photo, of my sister reading a new book to my daughter:
I used a mix of other embellishments to finish off the page, including some Pinkfresh Studio Christmas Wishes puffy stickers, some My Mind’s Eye Christmas On Market Street ephemera and enamel dots, and some cork-effect alpha stickers for the title:
I love the chaos of Christmas morning!
Be Inspired:
Make a North Pole Signpost as an embellishment or decoration
Use red and white candy-cane stripes somewhere on your next project
Make a flap for a hidden photo, journaling, or message
What do you think of my North Pole Signpost? What words would you have on the signs?
Remember that commenting on this post, and any post that goes live during November 2015, will count as another entry into the Grand Giveaway {NOW CLOSED}, but only if you’ve registered your interest in winning that prize right HERE!
I’ll see you again tomorrow for the next Frosty Festivities blog post!
Jennifer x



Wonderful fun page Jennifer, I love the hidden extra and will definitely pinch the signpost idea! :o)
LikeLike
OMGoodness I LOVE this! The sign is brilliant and the LO is adorable! Such cute photos! I love the hidden surprise too!
LikeLike
Oh I love the pole you’ve created with the sticks genius!
LikeLike
Oh my goodness… I’m so going to do this!! I’m not sure I’d change any of your words… its perfect!
Your page is fabulous – our Christmas morning is the same…. it doesn’t change no matter how old they are!
LikeLike
Such a fabulous idea and great way to use paddle pop sticks. Not sure what words I will use yet, depends how my layout pans out, I am looking forward to giving this a burl
Mary
LikeLike
So simple yet so inspired.Your layout is delightful.
LikeLike
fun layout! love the lolly stick signpost! clever!
LikeLike
Such a cute idea, love it!!!
Laura
http://www.24-7style.com
LikeLike
Great minds….just did one of these for a summer beach LO for our local scrap mag!!! But I have NOT done one for Christmas….& think they are a super idea….love the candy stripes, too…. & my favest bit is the hidden photo on your LO…so clever, to get an extra one or two scrapped!!!
LikeLike
Lovely idea
LikeLike
Love your signpost. I’ll be making one of those with my daughter for a Christmas card.
LikeLike
oooh I totally love this layout with all the magic of Christmas morning captured in a page with the added extras of the secret flap/photo and of course that beautiful sign… definitely one I am going to try thank you xxx
LikeLike
Such a fabulous idea…….totally gorgeous.
LikeLike
I love your signposts. I am going to make two of these and get them ready to add to my grandsons scrapbook when I get pictures this year!
LikeLike
Very nice layout. I especially like the dimension you added with the popsicle sticks.
LikeLike
I love all these embellishments….they really make the page…..and the signpost is brilliant.
LikeLike
Gorgeous page, and the sign post idea is inspired (we’d best get eating them lollies !)
Claire x
LikeLike
That looks fantastic, shall be pinning it for when I scrap the next batch of xmas photos. I better get some yummy lollies in, purely for the sticks ,,,, whats that, you can just buy the sticks? what utter madness!!!
LikeLike
What a clever way to use those lolly sticks! I can already think of so many places to use one of these signposts …layouts, cards, and even gift packages!
LikeLike
Your signpost is adorable, Jennifer, such a great idea!
LikeLike
What a brilliant LO!! Love how you adapted the signpost….not having the North Pole pointing upwards would have driven me crazy, too. 🙂 I absolutely adore that you embrace the chaos of Christmas morning and let it be what it is…..a time of joy and fun.
Not sure what I would put on the signpost, if I made one…..would have to think abt that. I just think it is the cutest idea!!!
❤ J
jwoolbright at gmail dot com
HerPeacefulGarden.blogspot.com
LikeLike
This really expresses the chaos and fun of Christmas morning and that signpost is just adorable! With a 5 year old and a 2 year old the whole Christmas season is pretty chaotic…but we love it!
LikeLike
We just took a trip to Alaska this summer, and the first day in Anchorage we saw a signpost like this pointing to places all over the globe. I am going to do one with all of the places we went in Alaska to go on a page with a photo of us standing in the airport here at home before we left! Yay!
LikeLike
Oooh this is adorable…love the clever use of the craft sticks and the alpha stamps
Am pinning this
LikeLike
Not sure what words I’d put on the signpost, but it’s a great idea for an embellishment and I’m going to be pinning this page like the commenter above.
LikeLike
Love the signpost as an ornament.
LikeLike
Really really neat Jennifer.
LikeLike